Tuesday, March 29, 2011

Vintage Florals

Floral prints are hot!  I've been wanting the perfect spring floral dress but haven't had any luck.  That doesn't mean I can't dress up my nails to suit the latest trend.  These nails will have to do for now.(Sorry about the ever changing camera quality and lighting.  Trying to find a good one to work with!)


You will need:
  • Joe Powder Blue (light blue)
  • Joe Orchid (plum)
  • Rimmel Lasting Finish Pro Steel Grey (greyish mauve)
  • Joe Faded Violet (lavender)
  • Joe Jade (green)
  • Joe Butter (light yellow)
  • Thin paintbrush
  • Paint dish
  • 60 mins
Lots of Joe products it seems =P


1. Paint a base coat of light blue (Joe's powder blue).

2. Paint uneven spots with a plum colour (Joe's orchid).  You don't have to be perfect with this.

3.  Paint a greyish mauve (Rimmel's steel grey) on top of the plum colour.  Make sure you leave some plum colour exposed on the edges as shown.  Again, you don't have to make this perfect.

4.  Paint a dot in the center of the spots and thin wavey lines surrounding it as shown with a lavender colour.  You now have your flowers!

5.  I mixed Joe's Jade with Butter to get a lighter shade of green.  Paint small leaves around the flowers with a thin paintbrush.

6.  Paint over the green with some light yellow (Joe's Butter).

7.  Top coat it and you're done!


Experiment with other colours!  This is a really simple design to do because you don't have to be perfect with it.

Feel free to suggest any design ideas! 

- SheNailedMe

Sunday, March 27, 2011

Mint Lace

Another spring colour and design.  This one is feminine without over doing it (in my opinion).  Slop on your favorite spring colour as a base and paint on some lace.  There's another design where you actually glue on lace on your nails but I find that really unsanitary...

Yup, on my own nails this weekend =)

You will need:
  • Sally Hansen Xtreme Wear Mint Sorbet (pale green, mint chocolate chip colour)
  • Rimmel Nail Tip Whitener (white)
  • Thin paintbrush
  • Fine paintbrush
  • Contact container (for dipping)
  • 50 mins
Oops, forgot to take a picture of all the stuff I used.
But here's the Mint Sorbet polish.

 1.  Paint your base colour!  Find a nice light colour for a spring look.  But you can use anything to suit your mood or taste.  It's important that the base is dry or near dry before you start painting the lace.

2. Paint a thin white line with a thin paintbrush across the nail on a diagonal.  It doesn't have to be absolutely perfect.  Here's a helpful tip:  If you roll your thumb as your paint, the line is straighter.

3.  Now paint "bumps" or "half circles" on the line with the thin paintbrush.  The bumps should be facing away from the tip and filled in completely.

4.  Paint opposite to the line the same bumps like a mirror image but do not fill it in completely.  I used a fine paintbrush to do this.

5.  Continue with another row of bumps.  Draw another straight line to complete it.  Then finish it off with some dots on both sides of the lace.

6.  Paint a top coat and your booboo's should look less obvious. Here's a picture for comparison.  Paint away!!!


This took me about 45 mins to do both hands.  If it's your first time, it will probably take longer.  I didn't find it too difficult to paint with my left hand either (I'm a righty), it's just a bit more time consuming.

Another tip I can give is to keep a cotton ball soaked with nail polish remover.  I use it to clean off the painting brush after every nail to keep it from clumping on the brush.  And only use a drop of polish on the contact case (or painting dish) at a time.  It dries fast so using a drop creates less waste.

Hope you liked this one =)
Good luck!

- SheNailedMe

Friday, March 25, 2011

My Neighbor Totoro

Totoro is my favourite childhood movie.  That's right, it's not a Disney movie.  It brings back lots of memories growing up and it was my mother's easy babysitter for a few hours.  Today's inspiration came from looking through the VHS rack and finding this movie covered in dust.  I think I should go watch it later.


You will need:
  • Joe Powder Blue (pale blue cream)
  • Rimmel 60 seconds Grey Matter (grey cream)
  • Rimmel Nail Tip Whitener (white)
  • Jordana Black
  • Joe Jade (green cream)
  • Rimmel Super Wear Top Coat
  • Fine paint brush
  • Thin paint brush
  • Paperclip
  • 45+ minutes (it's a long one...)
 Buckle up, this is a long one!

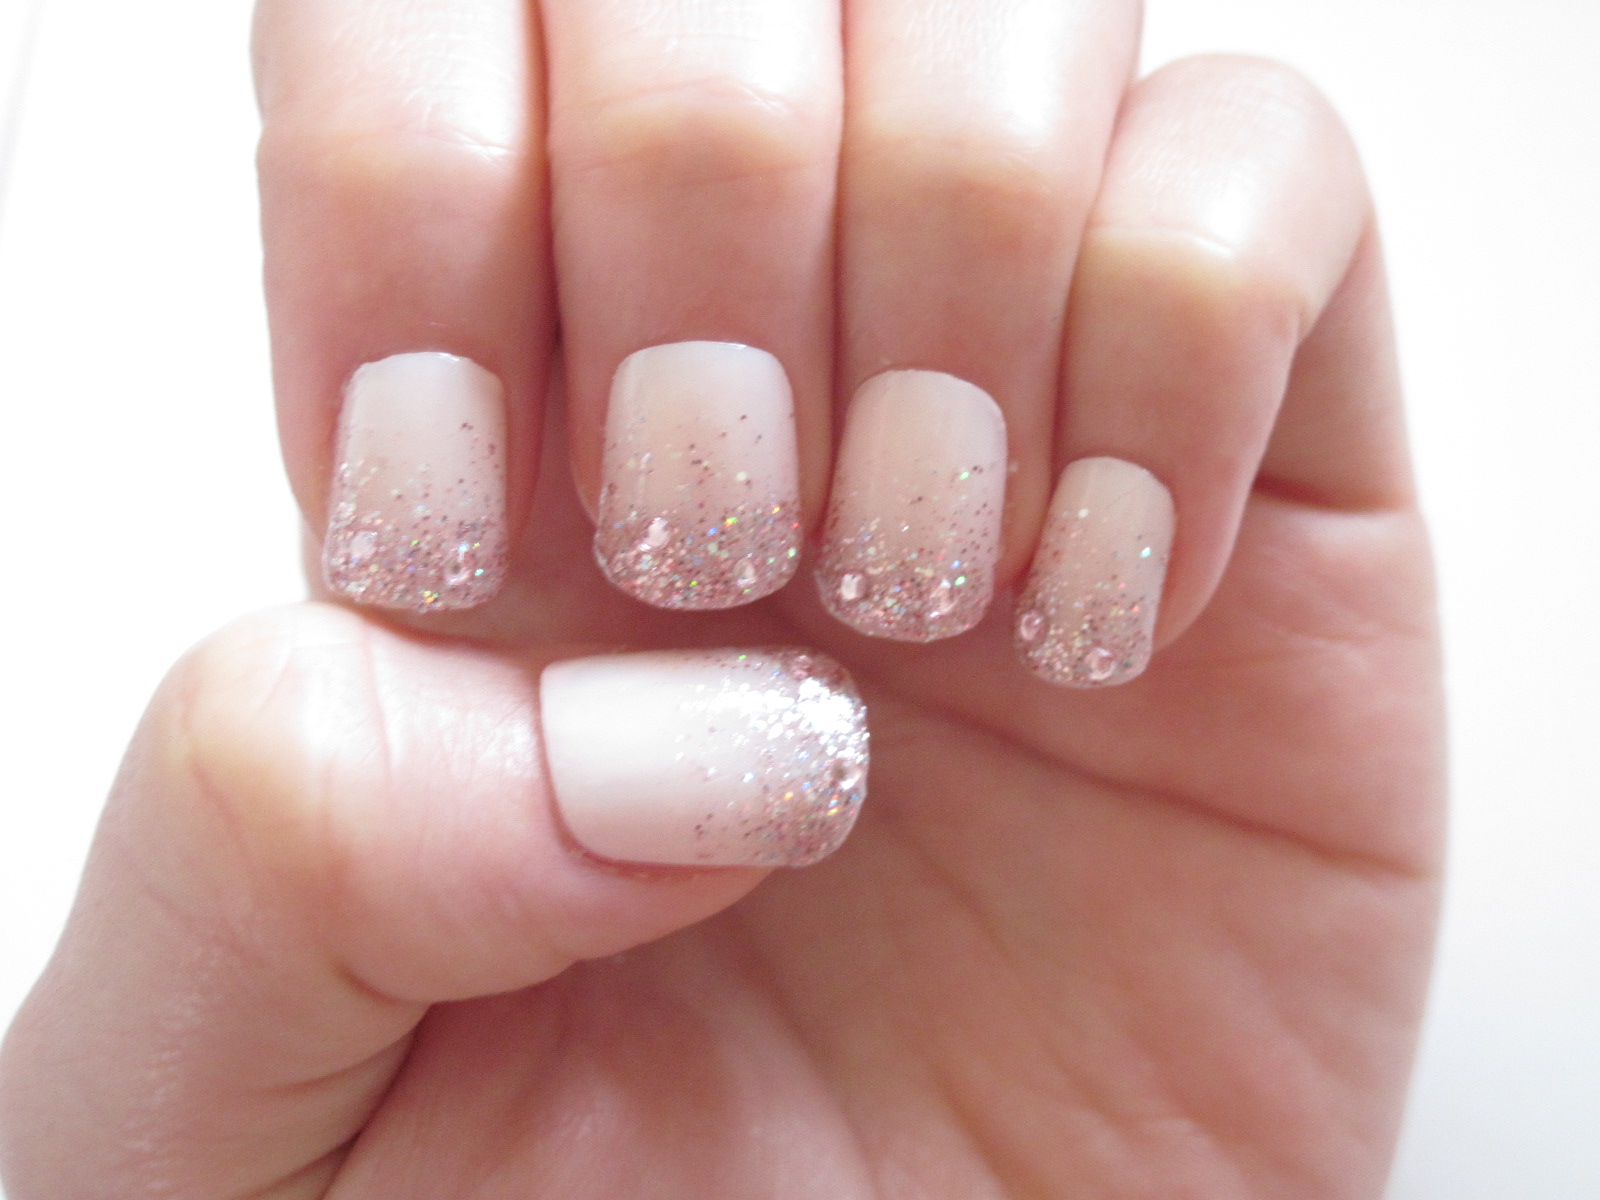
1.  Start off with a base.  I chose a pale blue but it can be any colour you like.

2.  With the grey polish and thin/fine paintbrush, paint an upside down 'U' and 2 lines at the top.  This is an outline of Totoro.

3.  Paint his ears into a slight diamond shape with the thin/fine painbrush.  Then paint the rest of him with the bottle's brush.

 4.  With the thin paintbrush, paint circles in white for the eyes.

5.  Dot the eyes with black and a fine paint brush.  Draw on a triangle nose.  And give him 3 whiskers on each side.

6.  Add a top coat and it should look something like this.  Cute!

7.  For the index finger, we'll paint the black dust ball.  Paint a circle with black, don't worry about being messy.  Then add tiny uneven lines around the circle.

8.  Using a paperclip, dot with white polish to make the eyes.  Dot with a fine paintbrush with black to finish the dust ball.

 9.  Paint a small plant on it's side.  You may remember this from the movie.  I mixed Joe's Jade with white to make this colour.
 
10.  Next, I painted the white Totoro pal on the middle finger.  Paint a horseshoe shape with white and a thin paintbrush.  Fill in the rest with white.  Draw on eyes with black.  Another cutie!  The design of the other fingers is up to you.  I decided to do more black dust balls.  Remember to top coat everything so it blends and also lasts.


Eek! He's missing a nose!


This one requires more work.  But the characters aren't hard to paint.  They're actually simple shapes.  What will your Totoro nails look like?  Or maybe you'll be inspired by a different childhood movie.

Good luck!

- SheNailedMe

Wednesday, March 23, 2011

Add Sparkles!

I recently bought Sally Hansen Xtreme Wear in Strobe light.  I've been dying to use it!  Strobe light is so dense with sparkles, it looks like a bottle of glitter and no varnish.  For something so packed with shimmering specks, a simpler look can bring it out nicely.

You will need:
  • Sally Hansen Xtreme Wear Strobe light (pink/purple glittery polish)
  • Rimmel 60 seconds Princess Pink (light pink cream)
  • Rimmel Super Wear Top Coat
  • Paperclip or toothpick
  • Small gems
  • 40 mins
Bored? Add sparkles! =)

1. Paint a base coat.  I used a light pink colour over the acrylic nail.  I think this look is better on natural nails.

 2.  Starting at about 1/3 away from the cuticle, paint a thin layer of Strobe light all the way to the tip.  Allow for it to dry a bit, and continue painting with each step getting closer to the tip of the nail.  Much like Grey Gradient.

3.  You should now have something like this.

 4.  Using a paperclip/toothpick, stick a gem on the still tacky surface of the polish.  (Remember, moisten the tip of the paperclip/toothpick with water to transfer the gem from the stick to the nail.)

5.  Stick as many gems as you'd like on the nail.  Keep them unevenly distributed.  Paint a top coat over it and you are done!


Simple but flashy.

If you're wondering about the products I use, I tend to pick whatever stands out to me or whatever looks useful.  I have polish ranging from drugstore to high-end.   I can never fully justify buying high-end polish because I only wear it on the weekends.  Nothing chips over 2 days, right?  But if you can wear polish for a longer period, I suggest investing in quality products so it will last.  The products I use are only suggestions, truly just for your inspiration.

Good luck!

- SheNailedMe