The lovely
Stefeuille recommended that I try out a marble/swirl pattern. I've done this before but it got messy and frustrating. It's a little bit better this time around. This design reminds me of the marbles I used to play with when I was little. I decided to do this on my own nails since it's the weekend =)
What you will need:
- Rimmel Nail Tip Whitener (cream white)
- Joe Faded Violet (cream lavender)
- Wet n' Wild Soul Mate (metalic purple)
- Jordana Black
- A disposable cup
- Lukewarm water
- Toothpicks (the pointy ones are better)
- Tape (optional)
- 45 mins (maybe longer if it's your first time)
Time to get messy.
1. Paint your nails with a base coat or base colour to begin with. The polish will stick better on pre-painted nails. Tape around your fingers leaving the nails exposed. Don't forget the pad of your fingers too! (You can skip the tape if you don't mind using polish remover around the nails.)
2. Drip single drops into a cup of lukewarm water. Drip them one on top of the other. Play with the order. You have to work fast! Otherwise, the polish will dry before you can do anything with it! I usually leave the bottles untwisted to make this process faster.
3. Take a toothpick and drag along the surface of the polish you dripped in. Do not dip the whole toothpick in! Just the tip. Again, work fast! When you're satisfied, you're ready for the next step.
4. Pick an area on the design that you like and quickly dip your nail in facing down into it. While keeping your finger in there, use the toothpick to push the surrounding polish away. Once it's clear, pull your finger out.
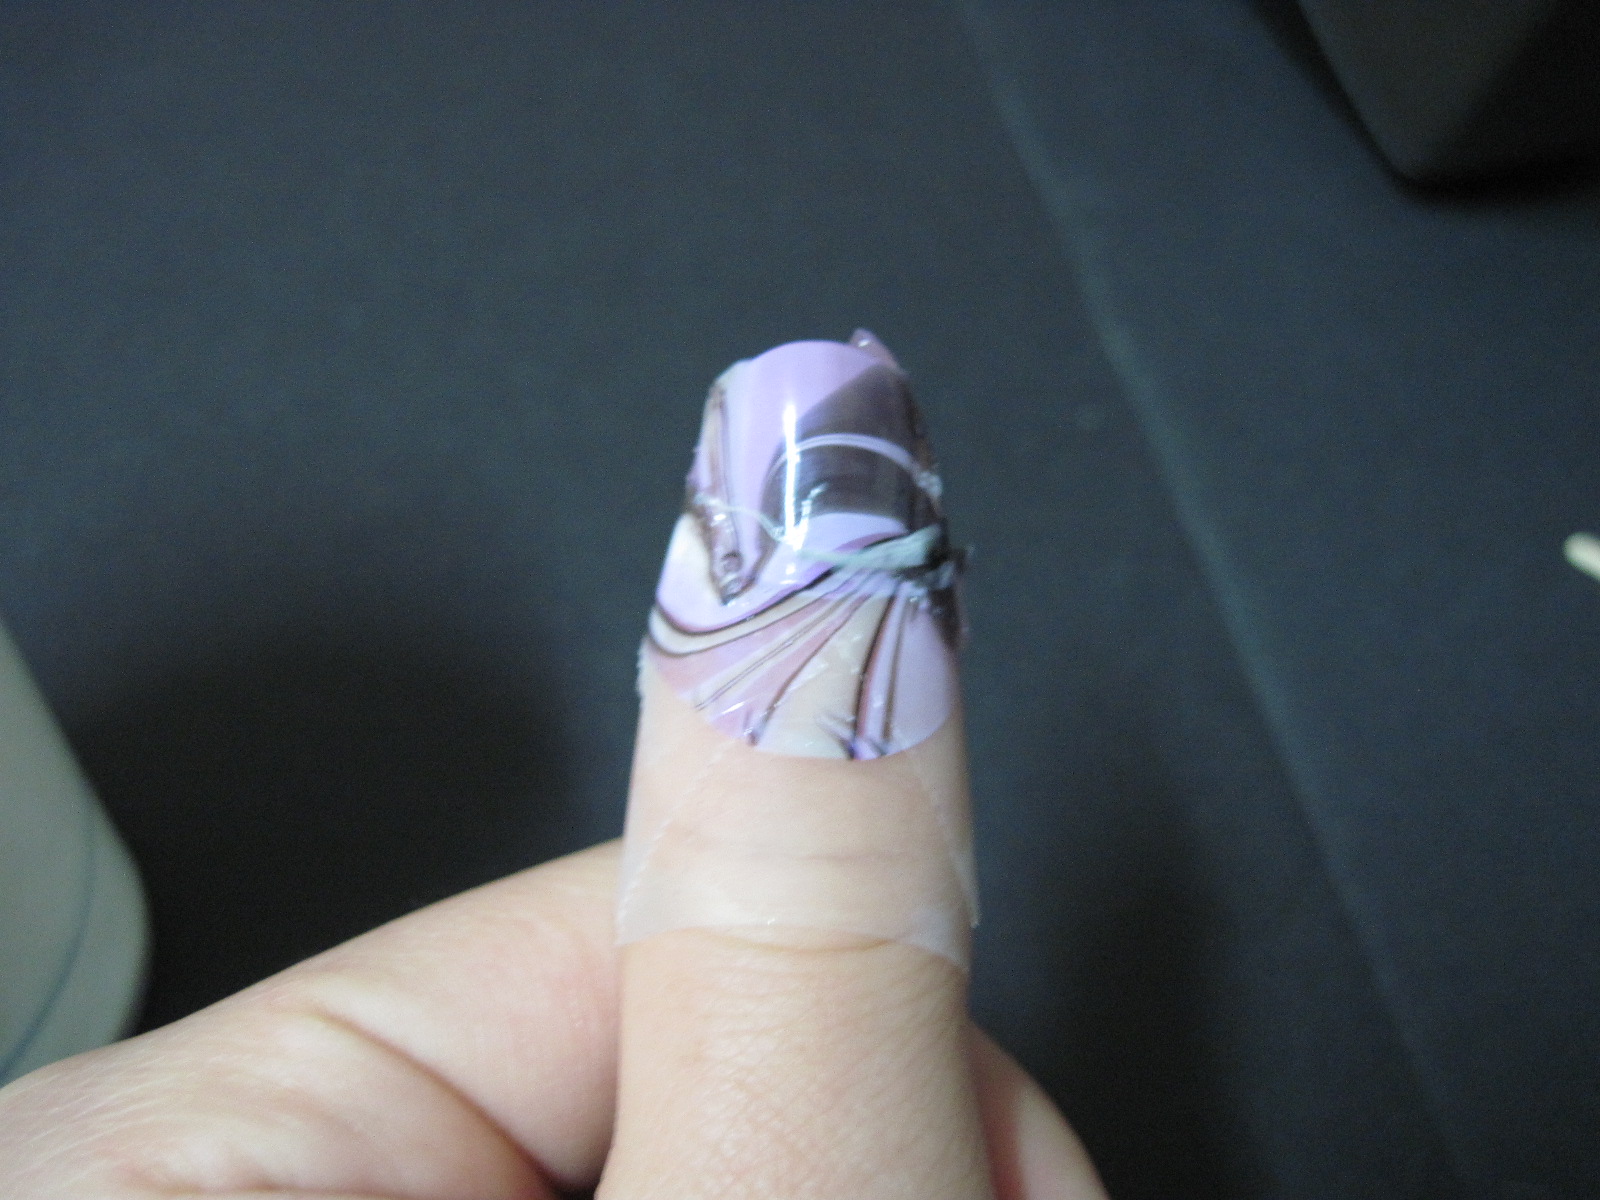
5. You should have something like this. Pull off the tape. (Or use polish remover if you didn't tape.)
6. You should have something like this. There's a small booboo on it but the other nails turned out ok. No two nails will look alike so it's different every time!
One tip to note is that the runnier your nail polish is, the better. The thicker stuff doesn't spread in the water quite as well.
What colours will you use? Experiment with different finishes too.
Good luck!
- SheNailedMe


love love love this tutorial! favourite so far :) i think i might actually try this one. thanks for the time addition too - helpful!
ReplyDeleteThank you Nat for the suggestion. Made a lot of sense =)
ReplyDeleteHope the swirls/marbling works out for you ^^ It's tricky the first time =P