My playlist on my iTunes is on random. It played
Breakfast at Tiffany's and I thought, I had to do it. I bought a Tiffany's inspired colour a while ago and usually wear it on it's own. Let's do something more fancy.
What you will need:
- China Glaze For Audrey (creamy "Tiffany's" colour)
- Rimmel Nail Tip Whitener (creamy white)
- Rimmel Super Wear Top Coat
- Thin paintbrush
- Manicure aid stickers
- Clear decorative beads or gems (I got mine from the dollar store)
- 60 mins
And I said, "What about breakfast at Tiffany's??"
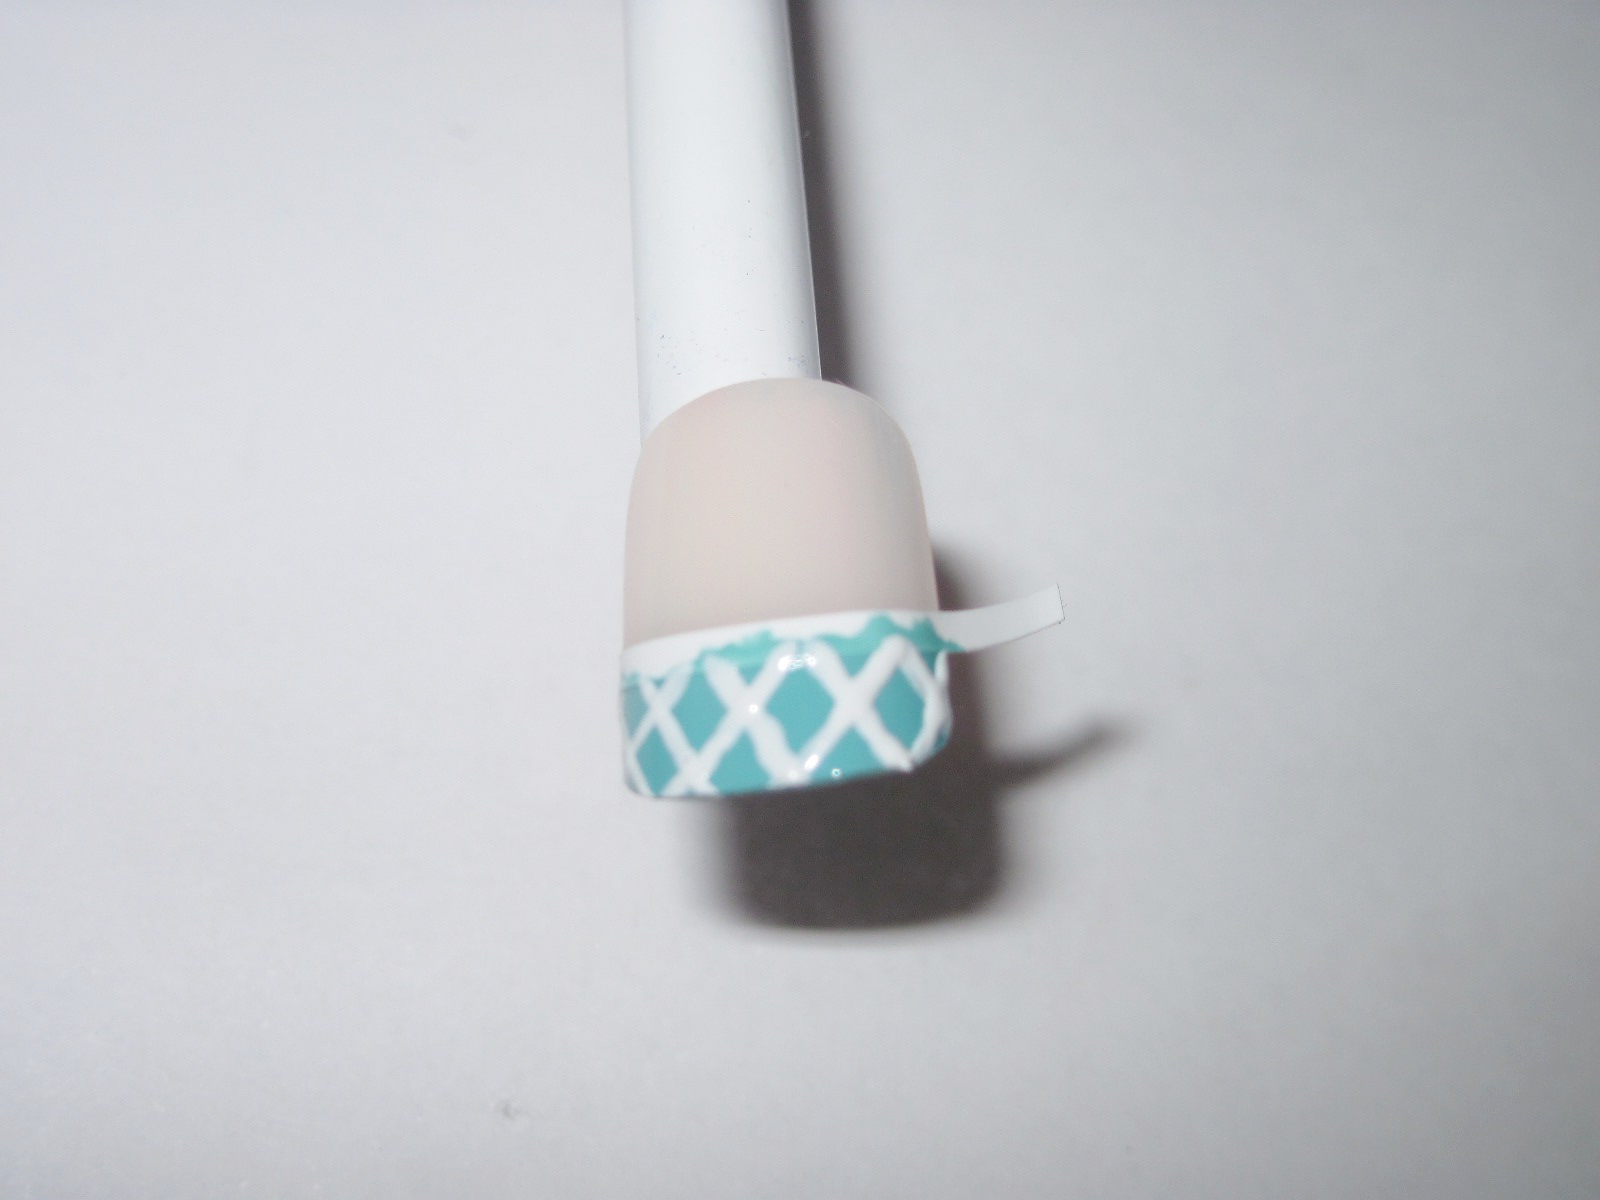
1. You can paint a base coat if you'd like. Use tape or a manicure aid sticker to help guide you in painting the tips. My manicure aid stickers are from Sally Hansen bought at Walmart.
2. Paint the tips a Tiffany's colour. Don't worry about getting it on the guides, it's suppose to help you.
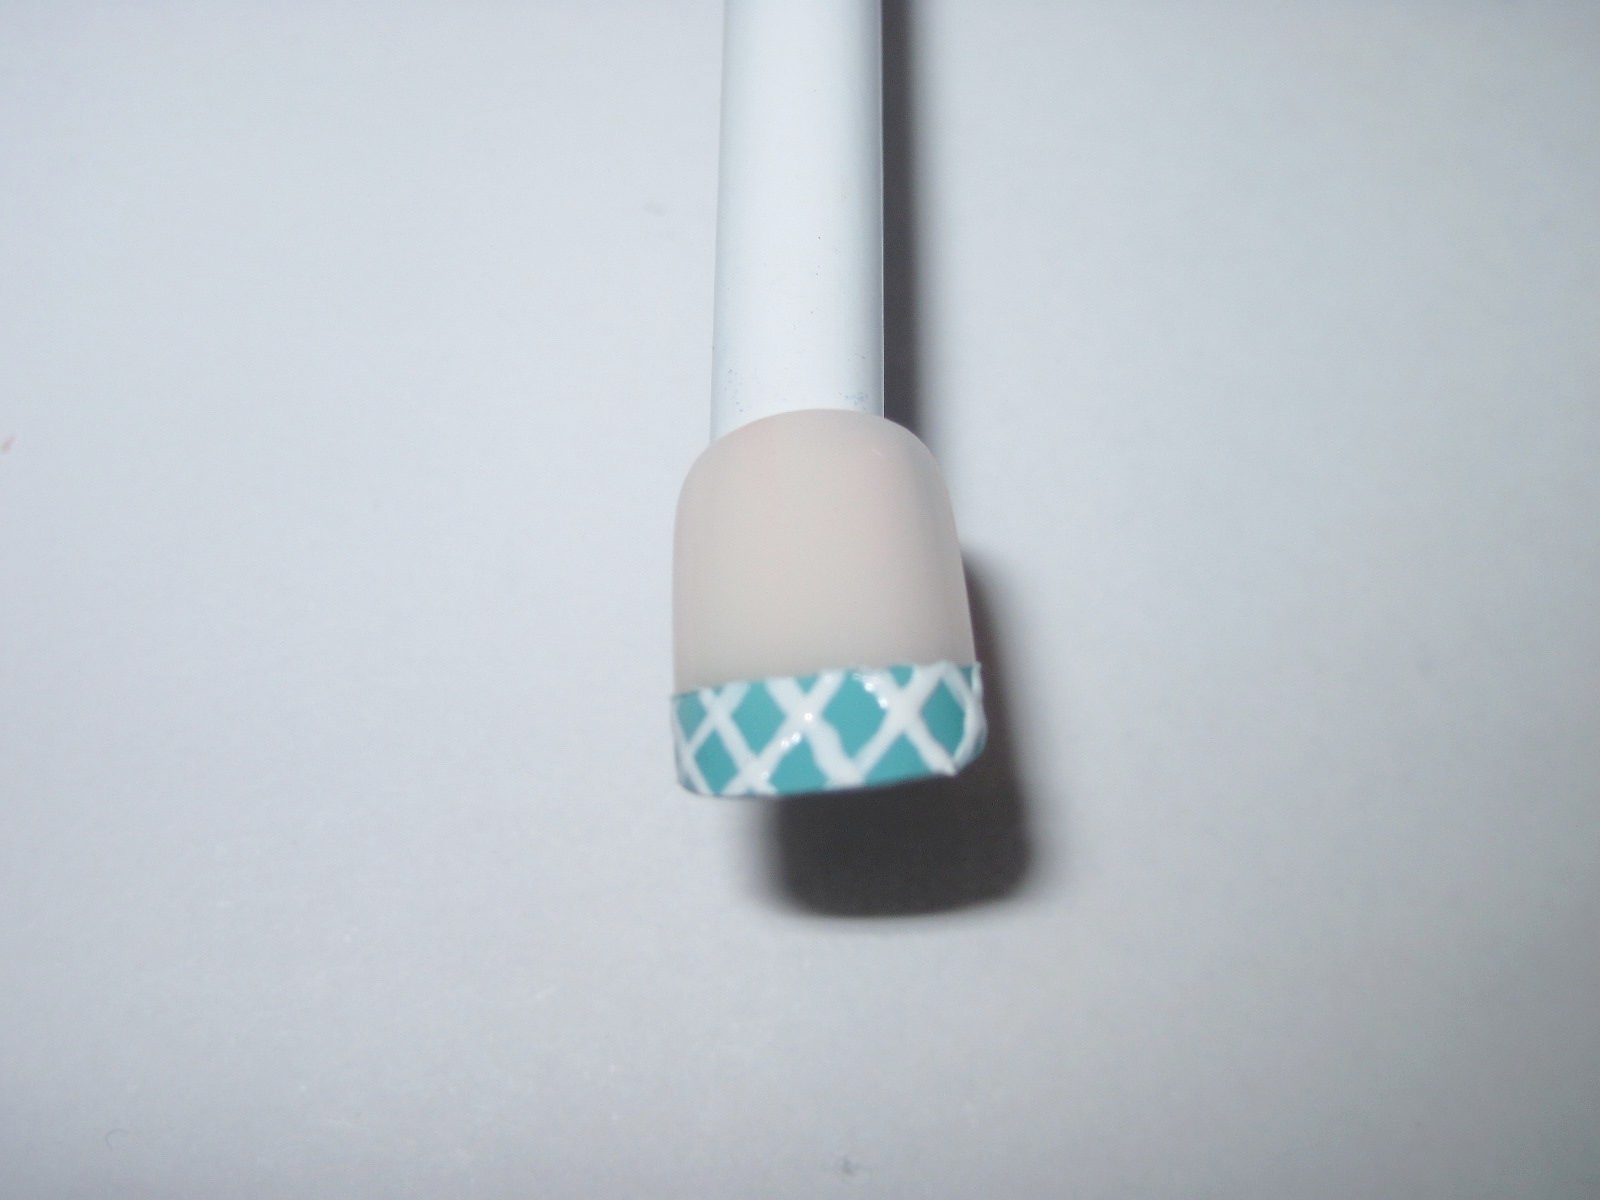
3. Now paint diagonal lines with white polish and a thin paintbrush. The thinner the better. A steady resting hand is the trick.
4. Remove the tape and it should look something like this. You can leave it like this and add a top coat. Or you can get fancy!!
4. Paint over the entire nail with a top coat. Use a thin paintbrush/toothpick/paperclip to attach small decorative beads on the border and other areas while it's still tacky. Paint over the entire nail again with a top coat to seal it.
5. You can change up the decorative beads on different nails too! You don't have to follow my instructions exactly. I made a booboo on my ring and pinky finger. Mistakes happen =P
She said, "I think I remember the film, And as I recall, I think, we both kinda liked it."
And I said, "Well, that's one thing we've got."
Good luck! =)
- SheNailedMe