Showing posts with label sparkles. Show all posts

Sunday, May 15, 2011

Sprinkled Pink

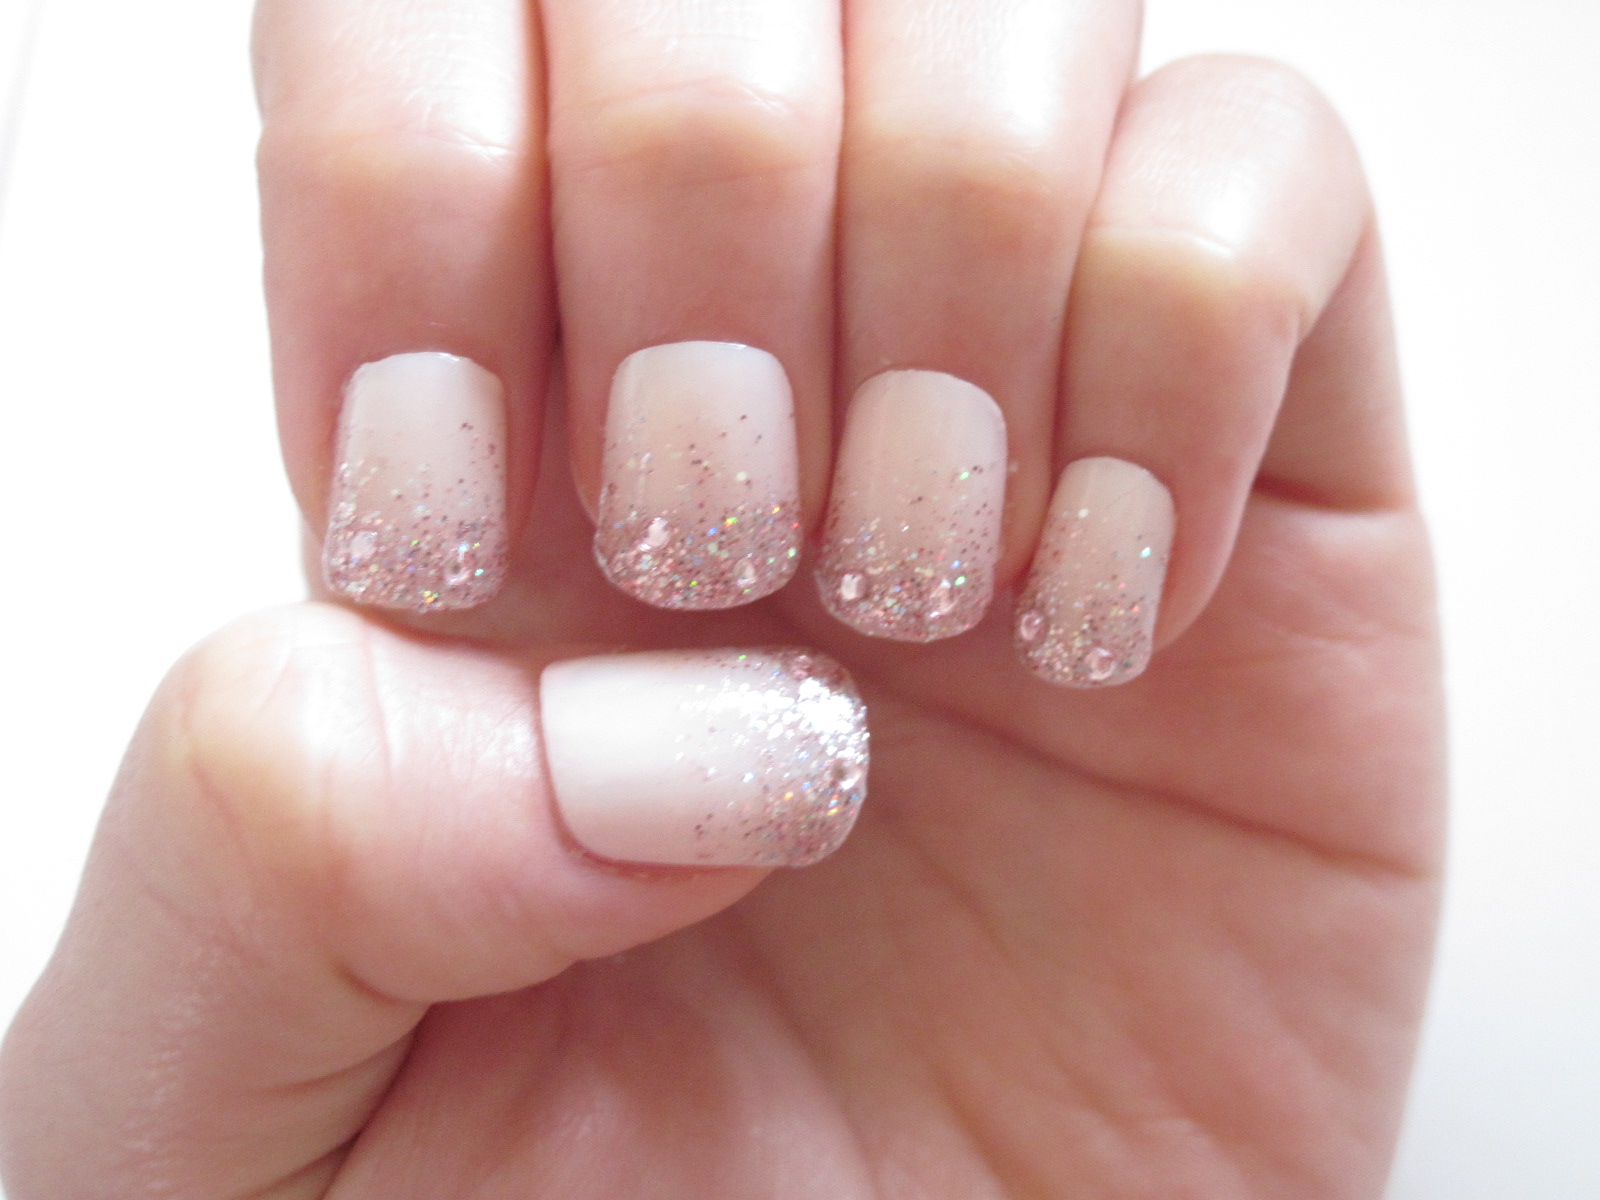
Pink sparkly tips!  Sparkles are very forgiving when it comes to accuracy.  That's why I love using sparkles because they're easy to use for a design.  The only part that is a drag is getting rid of it after.  But it sure looks great while it's on =)  This design almost looks like a pink gradient tip.

You will need:
  • Jordana Island Fuchsia
  • Sinful Colors Pinky Glitter
  • Rimmel Clear
  • Rimmel Top Coat


1.  Paint a pink tip.  You don't have to be super neat because the glitter should hide any mistakes.

2.  Paint starting just past the tip with glitter.

3.  Now go over the glitter with another coat.  Again, start a little past what you just painted.

4.  This step is optional.  While the glitter polish is still wet, add some sparkling decorations.  I added 2 glitter hearts to the side.  If you're finding it hard for the glitter to stick, paint a fresh clear coat for the decals to stick on.

5.  Go over everything with a top coat to blend it all together.


If you pick a glitter polish that is of the same tint as the tip colour, it will look better.  It's my first time wearing Sinful Colors glitters on my natural nails.  I haven't had much luck finding a glitter polish that doesn't chip the next day.  We'll see what this looks like tomorrow.

- SheNailedMe

Friday, May 13, 2011

Turquoise Night

One of my younger cousins is graduating from high school very soon.  Congrats girl!  Her dress is gorgeous and I was inspired to do something similar to the colours in her dress.  I hope she doesn't mind.  It's actually a really easy effect to do.


You will need:
  • China Glaze For Audrey
  • Wet n Wild Sapphire
  • Sinful Colors Hottie
  • Rimmel Top Coat
  • Makeup sponge

1.  Paint a turquoise base.

2.  Dab on some dark blue on a makeup sponge.  The better quality the sponge, the less clumps you will get.  Don't put on too much or you won't be able to create a good gradient effect.

3.  Dab the sponge on the nail starting from the tip.  You want the tip to the be the darkest and then fading towards the cuticle.

 4.  You should have something like this by the end of it.  Don't worry about being messy.

5.  Messiness is no problem because a glitter polish over the whole thing will pull it together.  I'm using Sinful Colors in Hottie.  It's sort of a dupe for OPI's Katy Perry Collection in Last Friday Night.

6.  Add a top coat to blend it all together.


I love the colours!  I often do the sponging effect over naked nails instead because I find it's a little more tamed.  But hey, it's grad and you wanna stand out! ^^

Congrats again Mandy!

- SheNailedMe

Wednesday, March 23, 2011

Add Sparkles!

I recently bought Sally Hansen Xtreme Wear in Strobe light.  I've been dying to use it!  Strobe light is so dense with sparkles, it looks like a bottle of glitter and no varnish.  For something so packed with shimmering specks, a simpler look can bring it out nicely.

You will need:
  • Sally Hansen Xtreme Wear Strobe light (pink/purple glittery polish)
  • Rimmel 60 seconds Princess Pink (light pink cream)
  • Rimmel Super Wear Top Coat
  • Paperclip or toothpick
  • Small gems
  • 40 mins
Bored? Add sparkles! =)

1. Paint a base coat.  I used a light pink colour over the acrylic nail.  I think this look is better on natural nails.

 2.  Starting at about 1/3 away from the cuticle, paint a thin layer of Strobe light all the way to the tip.  Allow for it to dry a bit, and continue painting with each step getting closer to the tip of the nail.  Much like Grey Gradient.

3.  You should now have something like this.

 4.  Using a paperclip/toothpick, stick a gem on the still tacky surface of the polish.  (Remember, moisten the tip of the paperclip/toothpick with water to transfer the gem from the stick to the nail.)

5.  Stick as many gems as you'd like on the nail.  Keep them unevenly distributed.  Paint a top coat over it and you are done!


Simple but flashy.

If you're wondering about the products I use, I tend to pick whatever stands out to me or whatever looks useful.  I have polish ranging from drugstore to high-end.   I can never fully justify buying high-end polish because I only wear it on the weekends.  Nothing chips over 2 days, right?  But if you can wear polish for a longer period, I suggest investing in quality products so it will last.  The products I use are only suggestions, truly just for your inspiration.

Good luck!

- SheNailedMe

Monday, March 14, 2011

Grey Gradient

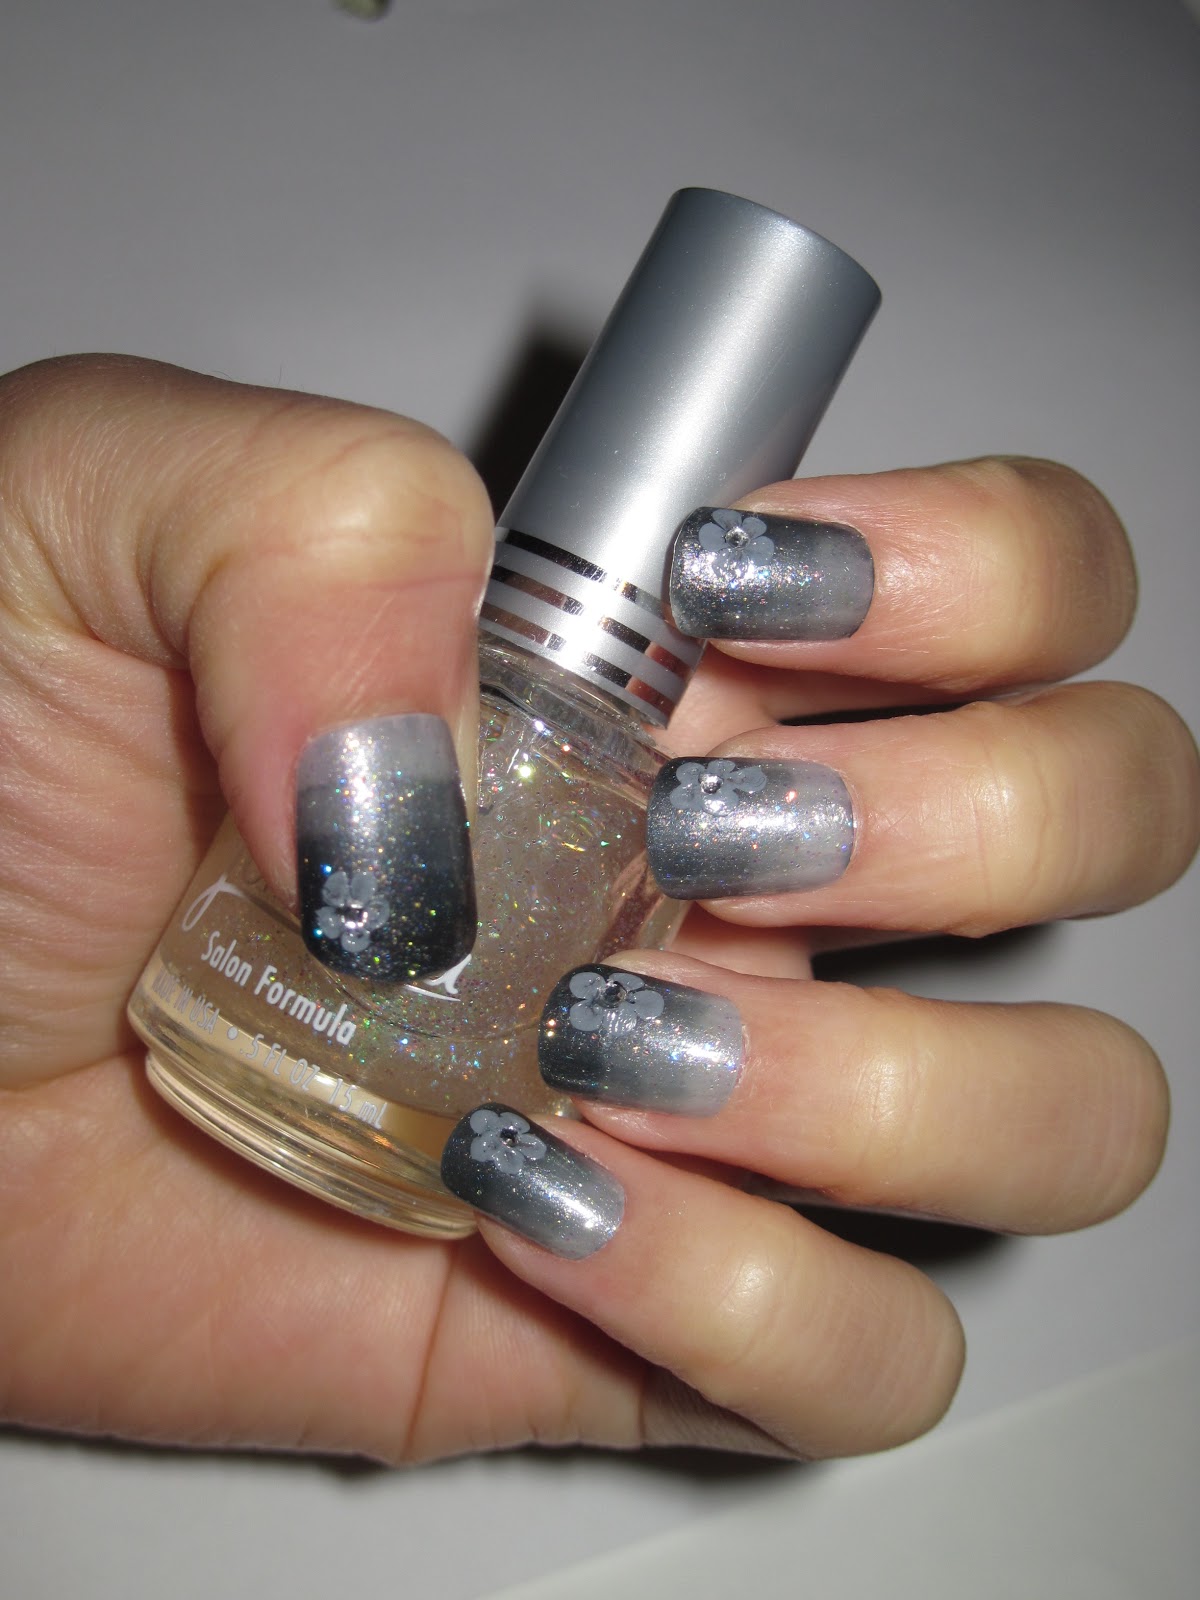
The rain in Vancouver doesn't have to be gloomy.  I got my inspiration this week from the weather we have been having.


You will need:
  • OPI Brand New Skates (sheer shimmery grey polish)
  • Jordana Crystal Glitter (clear glitter polish)
  • Rimmel Grey Matter (creamy grey polish)
  • Paper clip
  • Contacts container


Let's get started!


1. Paint layers onto your nail getting closer to the tip each time.

2. Paint a layer of clear glitter over top.  You can add a top coat and leave the design as is or continue to the next step.

3. Put a creamy grey into a contacts container for dipping.

4. Dip the paper clip into the creamy grey polish and dot 5 dots in a circle.

5. Let the creamy grey dry until it is tacky.  With the paper clip, drag a dot in towards the center of the circle creating a dip.  Do this with all 5 dots.

6.  It should look like a flower in the end.

7. Add a little gem in the center of your flower and you're done!


Rainy days aren't so bad =)
 
Good luck!


- SheNailedMe