Showing posts with label red. Show all posts

Tuesday, December 20, 2011

Peppermint Swirl

Peppermint candies remind me of the holiday season.  I especially love it when a peppermint candy cane is in my hot chocolate.

Here's another simple tutorial (if you have a steady hand).


You will need:
  • Le Chat Ultra Bond BaseCoat
  • Wet n' Wild French White Creme
  • OPI Bullish on OPI
  • Glittery polish (optional)
  • Le Chat Ultra Fast Dry TopCoat
  • Paintbrush
  • Contact lens case
 It's gonna get sweet =)

1.  Paint your base coat and then white all over the nail.  I painted 2 coats here.


 2.  Paint a curved line from the center to the side.  Then from the same point in the center, draw another curved line but ending it at a different point next the the first line.

3. Colour it in!  You should have something like this.

4.  Continue on with the rest of the nail.  Start from the same point every time.

5.  It should end up looking something like this.  I did 4 little curved triangles. You can do as many as you'd like, but I stuck with 4 because it was easier to divide evenly.  You can add a wash of glitter or just top coat the whole thing.


As you can see, I also did some stripes instead of making all my nails peppermint swirls.
Hope you can have fun with this too!

I need a better camera =.=

- SheNailedMe

Thursday, June 23, 2011

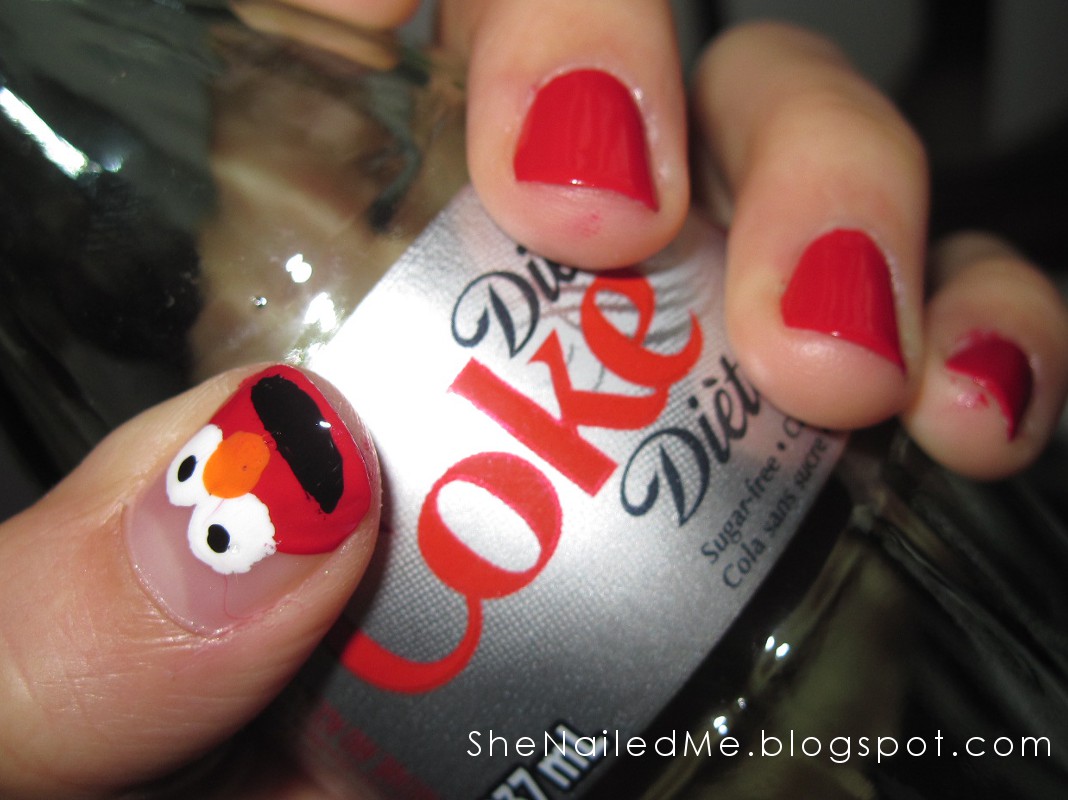
Tickle Me Elmo

You must have grown up watching at least 1 episode of sesame street.  My favourite was Elmo and Big Bird.  I thought I'd go with Elmo this time.  I wanted to wear red =)


You will need:
  • Wet n Wild Wild Shine in Red Red
  • Sally Hansen Xtreme Wear in White on
  • Jordana in Black
  • Joe in Crush
  • Seche Vite Top Coat (Finally got another bottle)

1. Paint a semi circle on the tip of your thumb.

2.  Dot on 2 white dots for the eyes.  Keep them close together.

3.  Paint on the smile with black.  Don't forget to dot his eyes!

4.  Of course, finish with the orange nose and a top coat.


Hope you like this one.  I haven't had much time to do my nails lately.  When I do have time, I can't make them too over the top.  Anyway, I'll try to keep doing at least 1 design a week.  Hope everyone is having a wonderful start to summer!!

- SheNailedMe

Tuesday, March 15, 2011

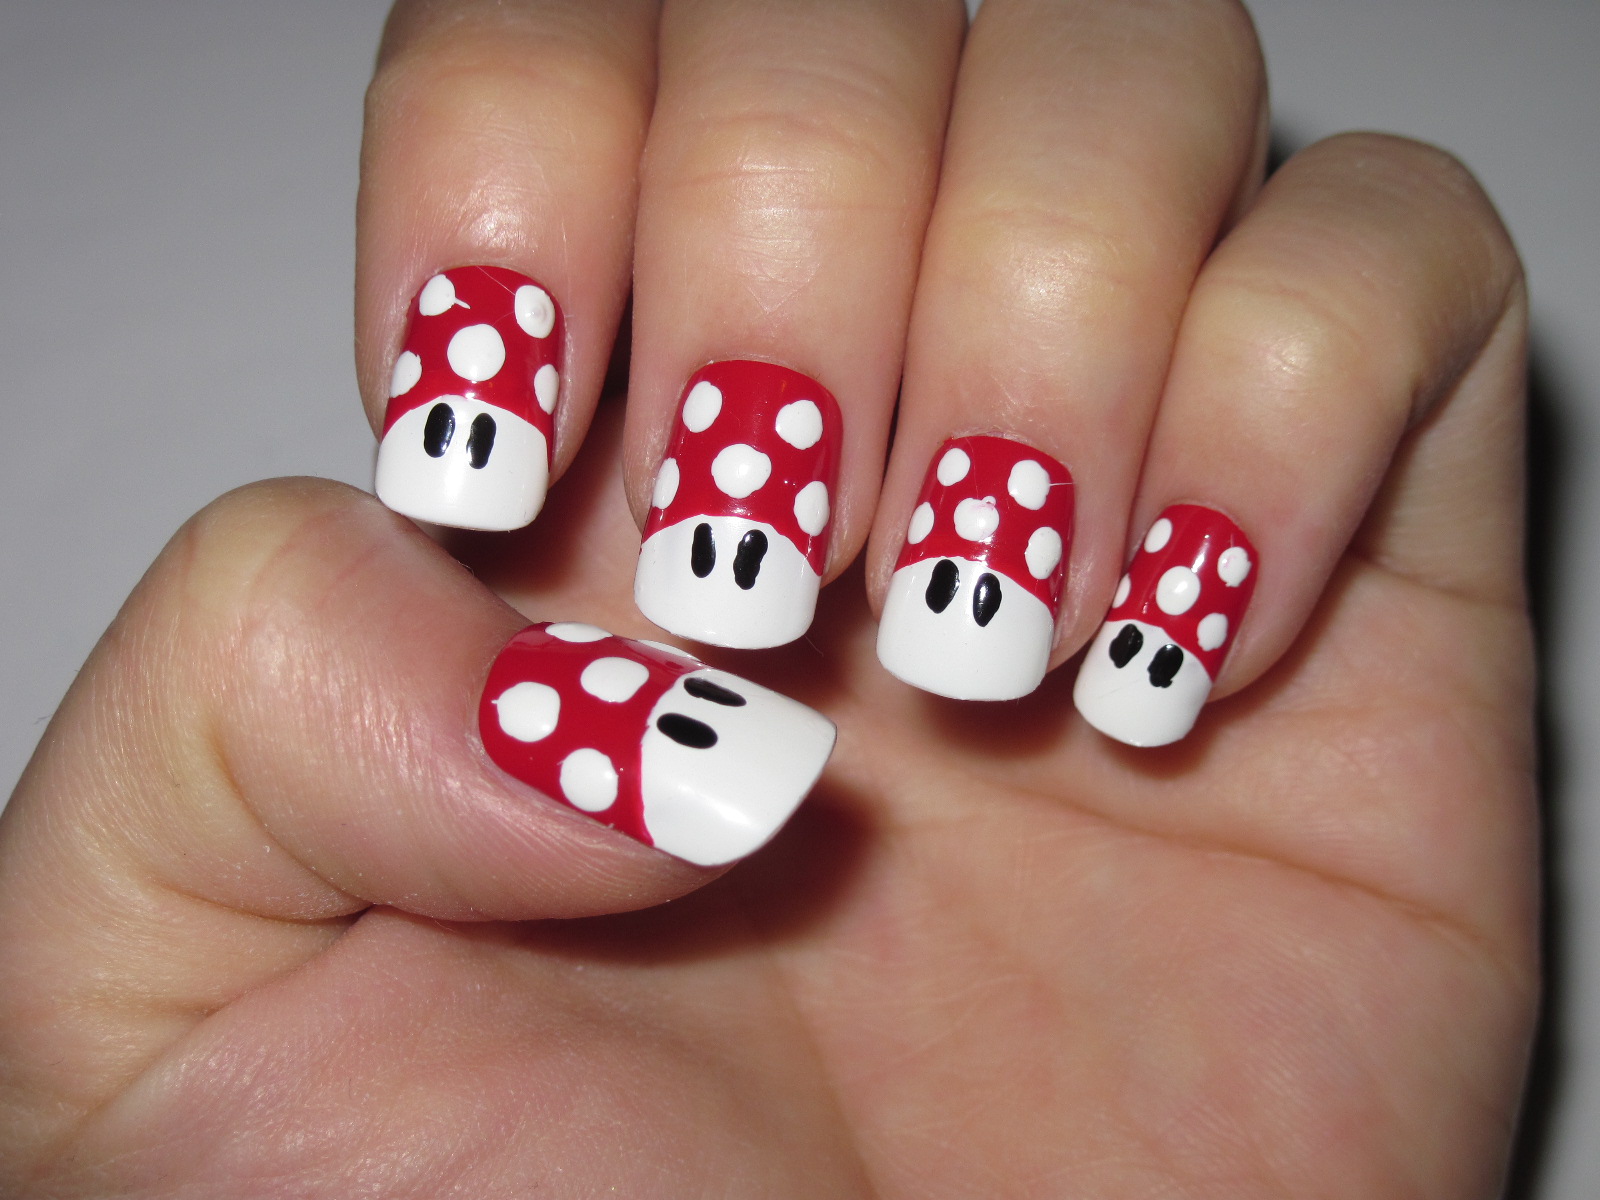
Mario Mushrooms

Whoever owned a Nintendo back in the day must have had at least one Super Mario game.  I loved playing Super Mario and I still do!  Why not decorate your nails to give your game a little edge?


What you will need:
  • Wet n' Wild Red Red (Red cream colour)
  • Sally Hansen White on (White cream colour)
  • Jordana Black (Black cream colour)
  • Paper clip
  • Contacts case

 
Game time!

    1. Since we're working with red, you should put a base coat on so it doesn't stain your nails.  Paint on 2/3's of the tip of your nails in Wet n' Wild's Red Red.  Make sure you curve the paint so it's rounded towards the finger.

    2. Paint the other 1/3 in Sally Hansen's White On.

    3. Put some Sally Hansen's White On in a contact case.  Dip the paper clip in and make dots on the nail in the red section.

    4. Put Jordana's Black in the contact case.  Dip the paper clip in and make two eyes in the white area.

    5. You may put a top coat on if you want. Voila! You're done!


    Gaming can be pretty too =)
    This look is also great for short nails.

    If you're curious, I don't paint on my own nails nor wear acrylics right now because of where I currently work.  I usually paint them on the weekends.  So that's why you see me painting on fake nails instead of my own.

    Good luck!

    - SheNailedMe