Showing posts with label french. Show all posts

Saturday, August 6, 2011

Bridal Bling

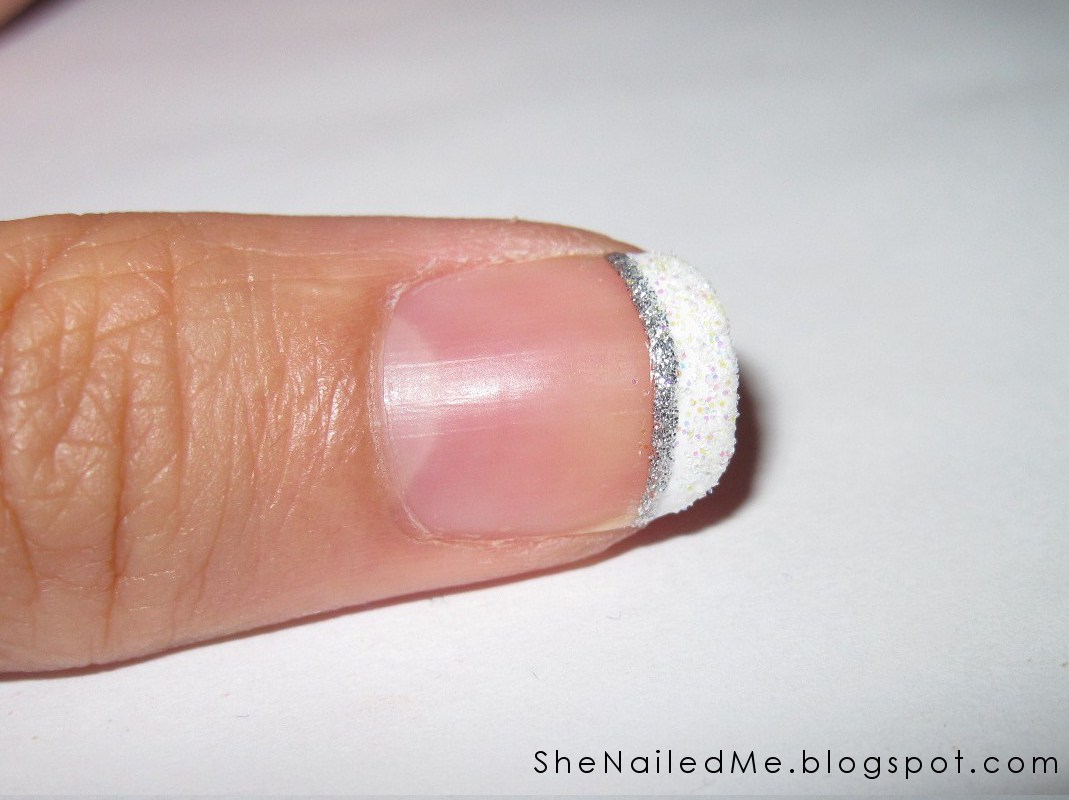
I was inspired by my friend Marianne to do these nails.  A simple white tip manicure with some sparkle and bling.
I'm so happy for you Marianne and can't wait for your wedding in September!  Love you!!

You will need:
  • Color Club in Alabaster
  • Kiss Nail Art Paint in Silver
  • Jordana in Crystal Glitter
  • Seche Vite Top Coat
  • Manicure tape
  • Clear nail gems
  • Glitter


1.  Using the manicure tape, tape off the length of white you would like to have for your french tip.  Paint over it, and remove.

 2.  Then with a thin paintbrush, paint a silver glittery line where the white ends.  You can top coat the whole nail and leave it if you prefer to not have glitter in the next steps.

 3. Paint over just the white tip with a glittery nail polish.  While it's still wet, dip the tip of the nail in some glitter.  Blow and tap off the excess.

 4.  Put a dot of clear polish on the side of the white tip.  Then put a clear gem on it.  Top coat the whole nail twice to smooth out the glitter and secure the gem.


A simple french tip with a little bling.  Hope you liked it.

Sunday, May 15, 2011

Sprinkled Pink

Pink sparkly tips!  Sparkles are very forgiving when it comes to accuracy.  That's why I love using sparkles because they're easy to use for a design.  The only part that is a drag is getting rid of it after.  But it sure looks great while it's on =)  This design almost looks like a pink gradient tip.

You will need:
  • Jordana Island Fuchsia
  • Sinful Colors Pinky Glitter
  • Rimmel Clear
  • Rimmel Top Coat


1.  Paint a pink tip.  You don't have to be super neat because the glitter should hide any mistakes.

2.  Paint starting just past the tip with glitter.

3.  Now go over the glitter with another coat.  Again, start a little past what you just painted.

4.  This step is optional.  While the glitter polish is still wet, add some sparkling decorations.  I added 2 glitter hearts to the side.  If you're finding it hard for the glitter to stick, paint a fresh clear coat for the decals to stick on.

5.  Go over everything with a top coat to blend it all together.


If you pick a glitter polish that is of the same tint as the tip colour, it will look better.  It's my first time wearing Sinful Colors glitters on my natural nails.  I haven't had much luck finding a glitter polish that doesn't chip the next day.  We'll see what this looks like tomorrow.

- SheNailedMe

Thursday, April 28, 2011

Let's Go Sailing!

I love nautical stripes!  It reminds me of sunny weather on the water.  This nail design is easy to do as long as you have steady hands to make horizontal stripes.  Shall we?

You will need:
  • Sally Hansen Xtreme Wear White on
  • Wet N Wild Wild Shine Sapphire Blue
  • Rimmel Top Coat
  • Gold decorative beads
  • Thin paintbrush
  • Toothpick (to put the beads on)
  • 45 mins
1.  Paint a white tip.  You don't need to use a guide.

2.  Paint on the navy horizontal lines over the white tips.  You need a steady hand but a good trick is to roll the finger you are painting on.

3.  For the ring finger, instead of painting just the tip, do the whole nail.

4.  Paint a top coat and add on decorative beads while it's still wet.  Make an anchor shape.  The go over it again with the top coat.


And there you go.  You can paint the whole nail for the entire hand instead of just the tips.  It might even look better.  I painted this before I went to LA.  Thought I would wear it but I'm a nail picker.  So I picked out the anchor while figuring out what to pack. =(

- SheNailedMe

Tuesday, April 19, 2011

More pokadots!

Pokadot designs are easy and quick.  I recommend getting a dotting tool to make the process even more simpler.  Here's another quick design.


You will need:
  • Sally Hansen Xtreme Wear Mint (pale mint)
  • China Glaze For Audrey (Tiffany's)
  • Rimmel 60 Seconds Clear
  • Dotting tool/paperclip/toothpick
  • 20 mins


1.  Paint your tips in mint.  You can use a guide to help you.


2.  Dot with a Tiffany's colour! I dotted on the tips and then to one side of the nail. Just top coat and you're done!


A 2-3 step design.  Quick and easy =)
Time to head out in the sunny weather!

- SheNailedMe

Thursday, April 14, 2011

Night Out

I'm going to have a night out with my classmates.  We're done with our program and we think we deserve a good time!  We have a graduation tea during the day and then a party at night.  I thought I should erase the pink and go with a clean but fun black mani.  Something to bring me from day to night.


You will need:
  • Jordana Black
  • Fine black glitter polish (no name)
  • Kiss Nail Art Paint Silver
  • Rimmel Super Wear Top Coat
  • Sally Hansen Manicure Aid
  • 35 mins


1.  Tape with a manicure guide and paint a black tip.  My poor thumb nail chipped today =(  So short!

2.  Paint thin vertical lines of black/dark grey glitter on the tips.

3.  Paint thin vertical silver lines next to the glitter you just painted.  Make sure to leave the black underneath showing on the other side.  So it should look like glitter-silver-black-glitter-silver-black...etc.  Yes, I did get a silver/glitter fine line polish finally.

4.  Remove the tape!  You can keep it like this or do the next step.

5.  Continue the silver lining down the nail.  I went from longer to shorter lines.  You can also continue the dark glitter lines too.  I did that later.

6.  Top coat! =)


Some people don't like the black french tip look.  You can always do it in another colour or the classic white.  This was a really quick and easy design.  My hands are ready to do some fist pumping tomorrow night =)

Goodluck!

- SheNailedMe

Thursday, March 17, 2011

Tiffany's Manicure

My playlist on my iTunes is on random.  It played Breakfast at Tiffany's and I thought, I had to do it.  I bought a Tiffany's inspired colour a while ago and usually wear it on it's own.  Let's do something more fancy.


What you will need:
  • China Glaze For Audrey (creamy "Tiffany's" colour)
  • Rimmel Nail Tip Whitener (creamy white)
  • Rimmel Super Wear Top Coat
  • Thin paintbrush
  • Manicure aid stickers
  • Clear decorative beads or gems (I got mine from the dollar store)
  • 60 mins


And I said, "What about breakfast at Tiffany's??"


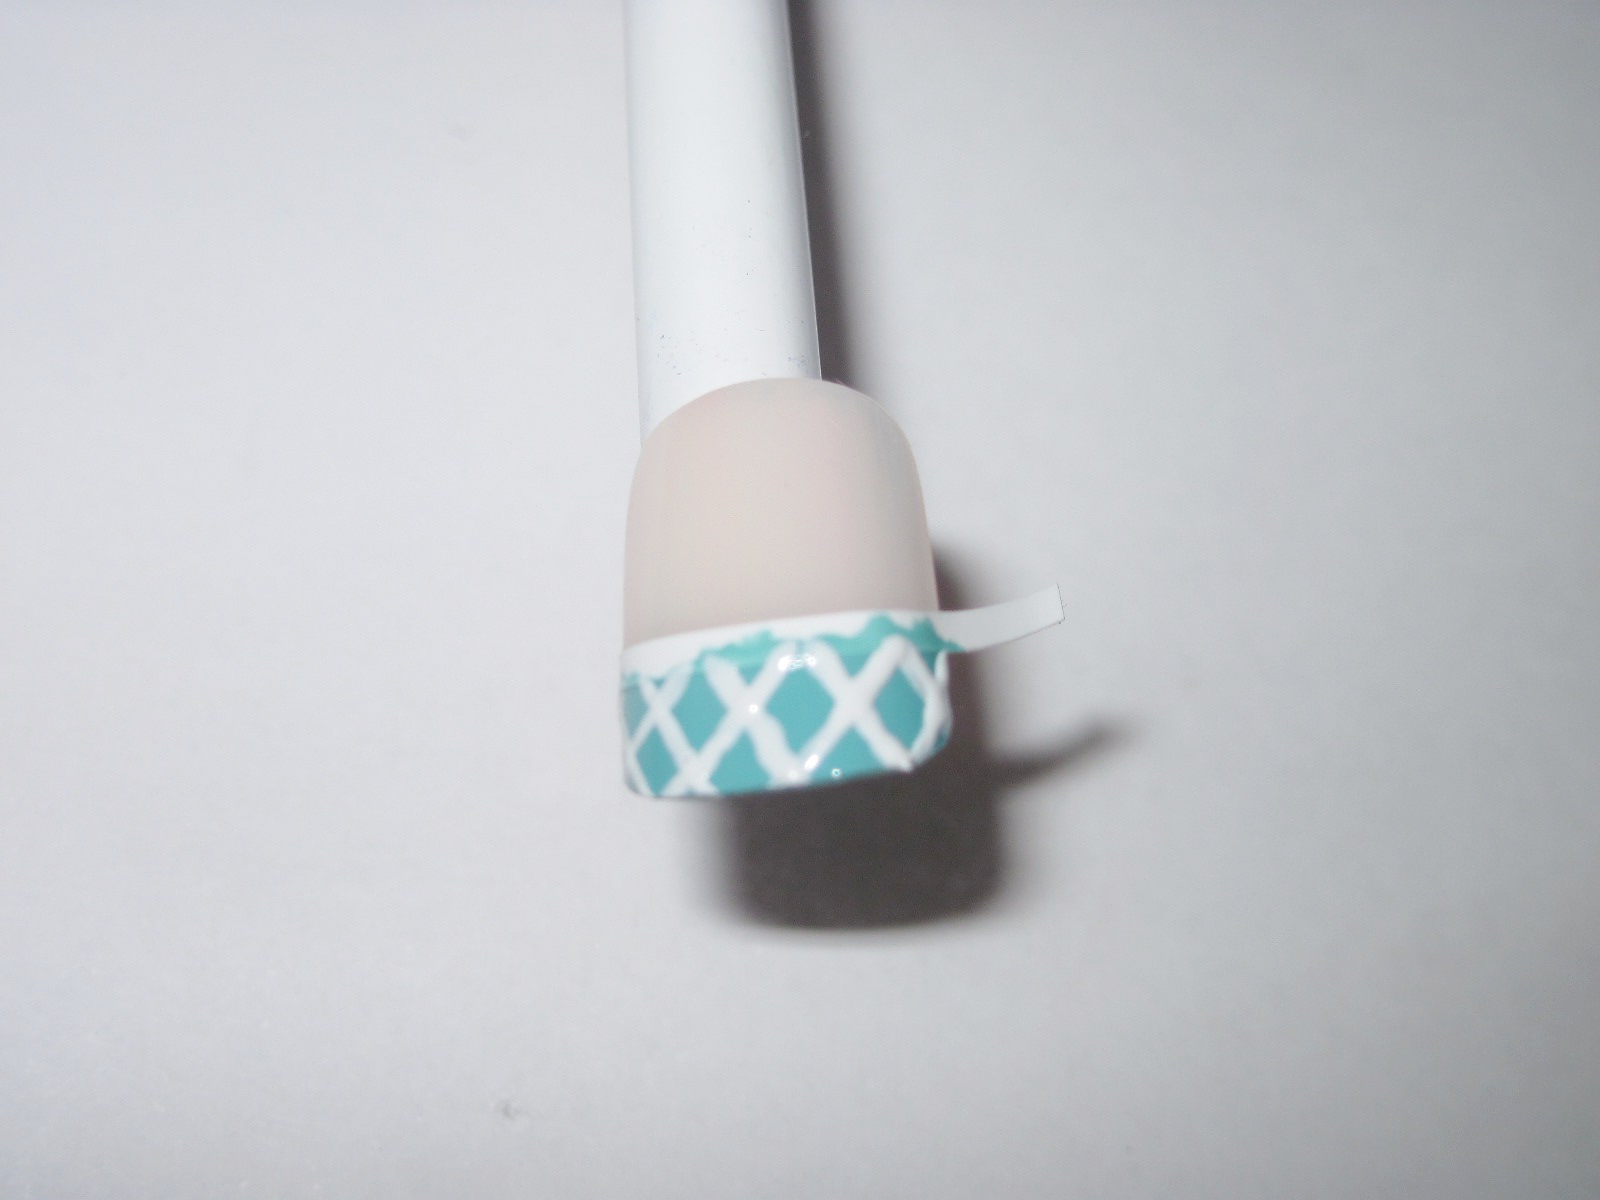
1. You can paint a base coat if you'd like.  Use tape or a manicure aid sticker to help guide you in painting the tips. My manicure aid stickers are from Sally Hansen bought at Walmart.

2. Paint the tips a Tiffany's colour. Don't worry about getting it on the guides, it's suppose to help you.

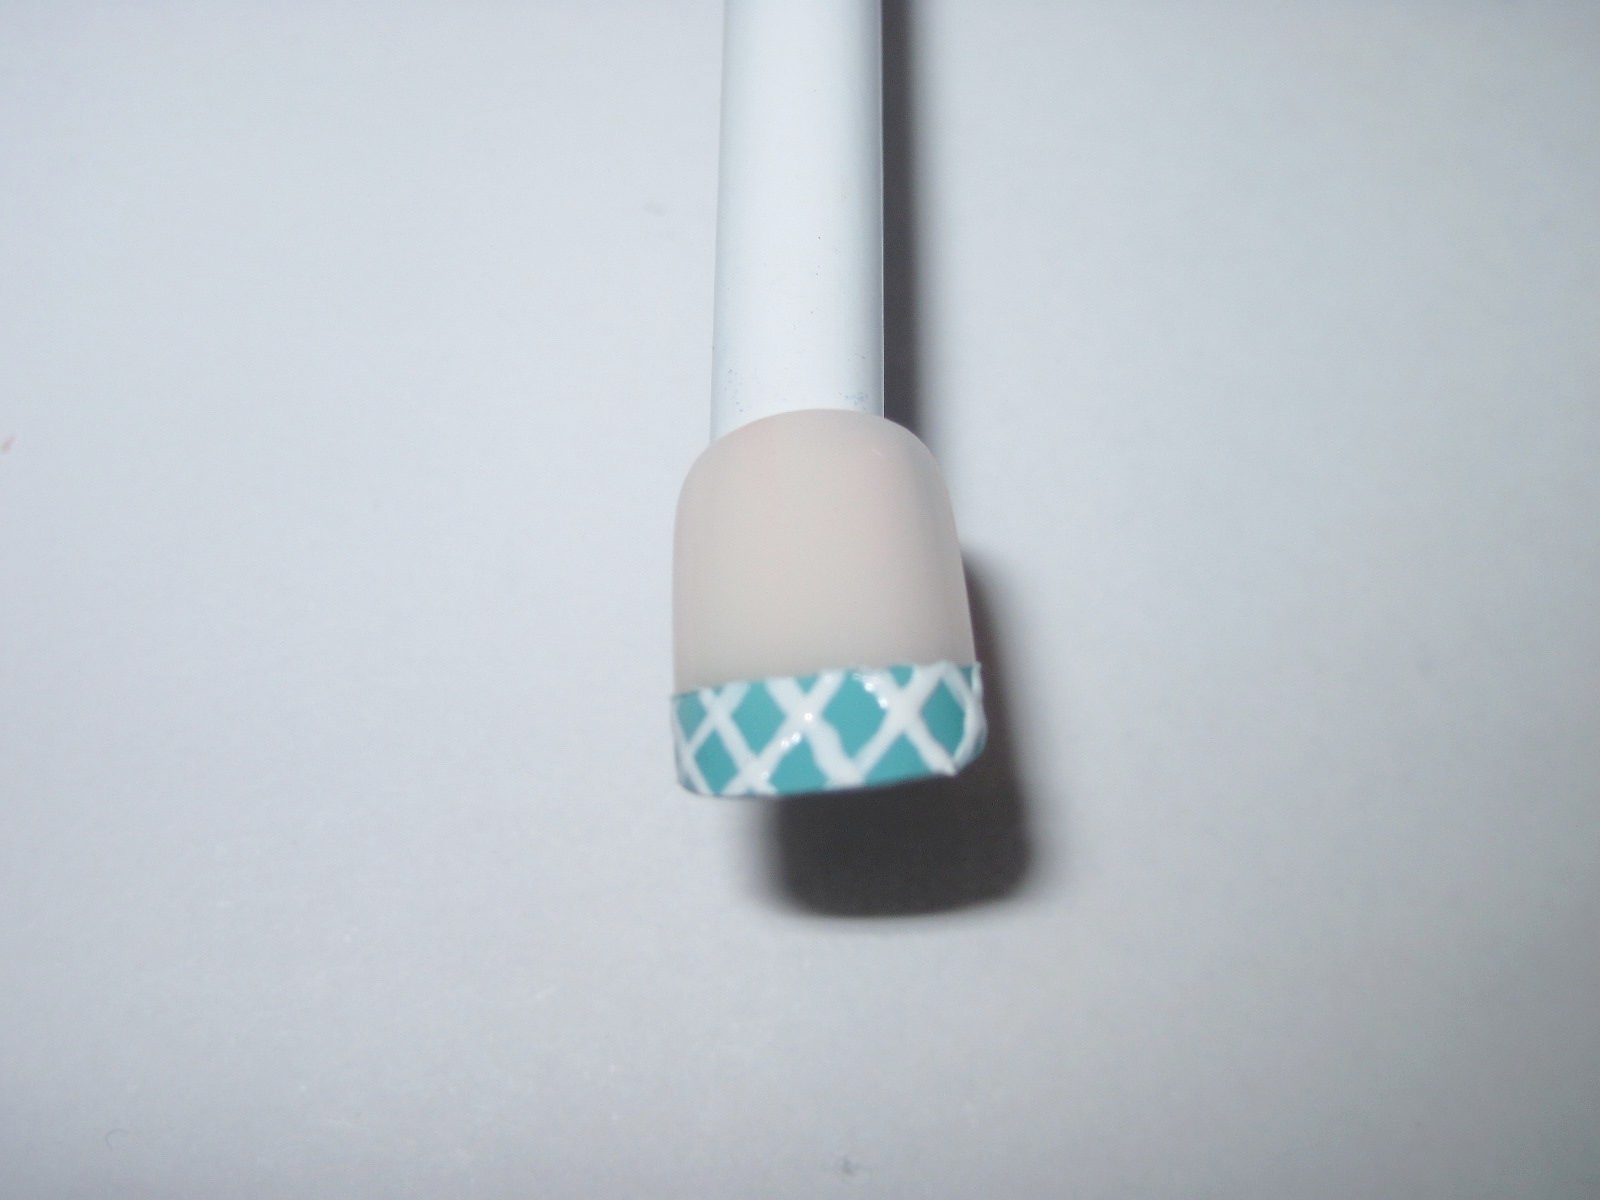
3.  Now paint diagonal lines with white polish and a thin paintbrush.  The thinner the better.  A steady resting hand is the trick.

4.  Remove the tape and it should look something like this.  You can leave it like this and add a top coat.  Or you can get fancy!!

4.  Paint over the entire nail with a top coat.  Use a thin paintbrush/toothpick/paperclip to attach small decorative beads on the border and other areas while it's still tacky.  Paint over the entire nail again with a top coat to seal it.

5.  You can change up the decorative beads on different nails too!  You don't have to follow my instructions exactly.  I made a booboo on my ring and pinky finger.  Mistakes happen =P


She said, "I think I remember the film, And as I recall, I think, we both kinda liked it."
And I said, "Well, that's one thing we've got."


Good luck! =)

- SheNailedMe